Integrating AI-Generated Sprites into Unity and Godot: A Step-by-Step Import Workflow
Getting AI-Generated Sprites into Unity and Godot Without Losing Your Mind
Most 2D import tutorials skip the part that actually trips people up. The moment between "I have a sprite" and "it's animating correctly inside my engine." Pivots drift. Transparent backgrounds suddenly aren't transparent. A clean walk cycle starts looking like the character sprained an ankle.
If you're piping AI-generated sprites into Unity or Godot, there are a handful of specific potholes worth knowing about. Here's the workflow I've settled on.
The generator matters more than the engine
Whether your import goes smoothly has almost nothing to do with Unity or Godot. It's about what comes out of the generator. Sprites with messy edges, baked-in shadows, or inconsistent frame sizing will fight you no matter what you do downstream.
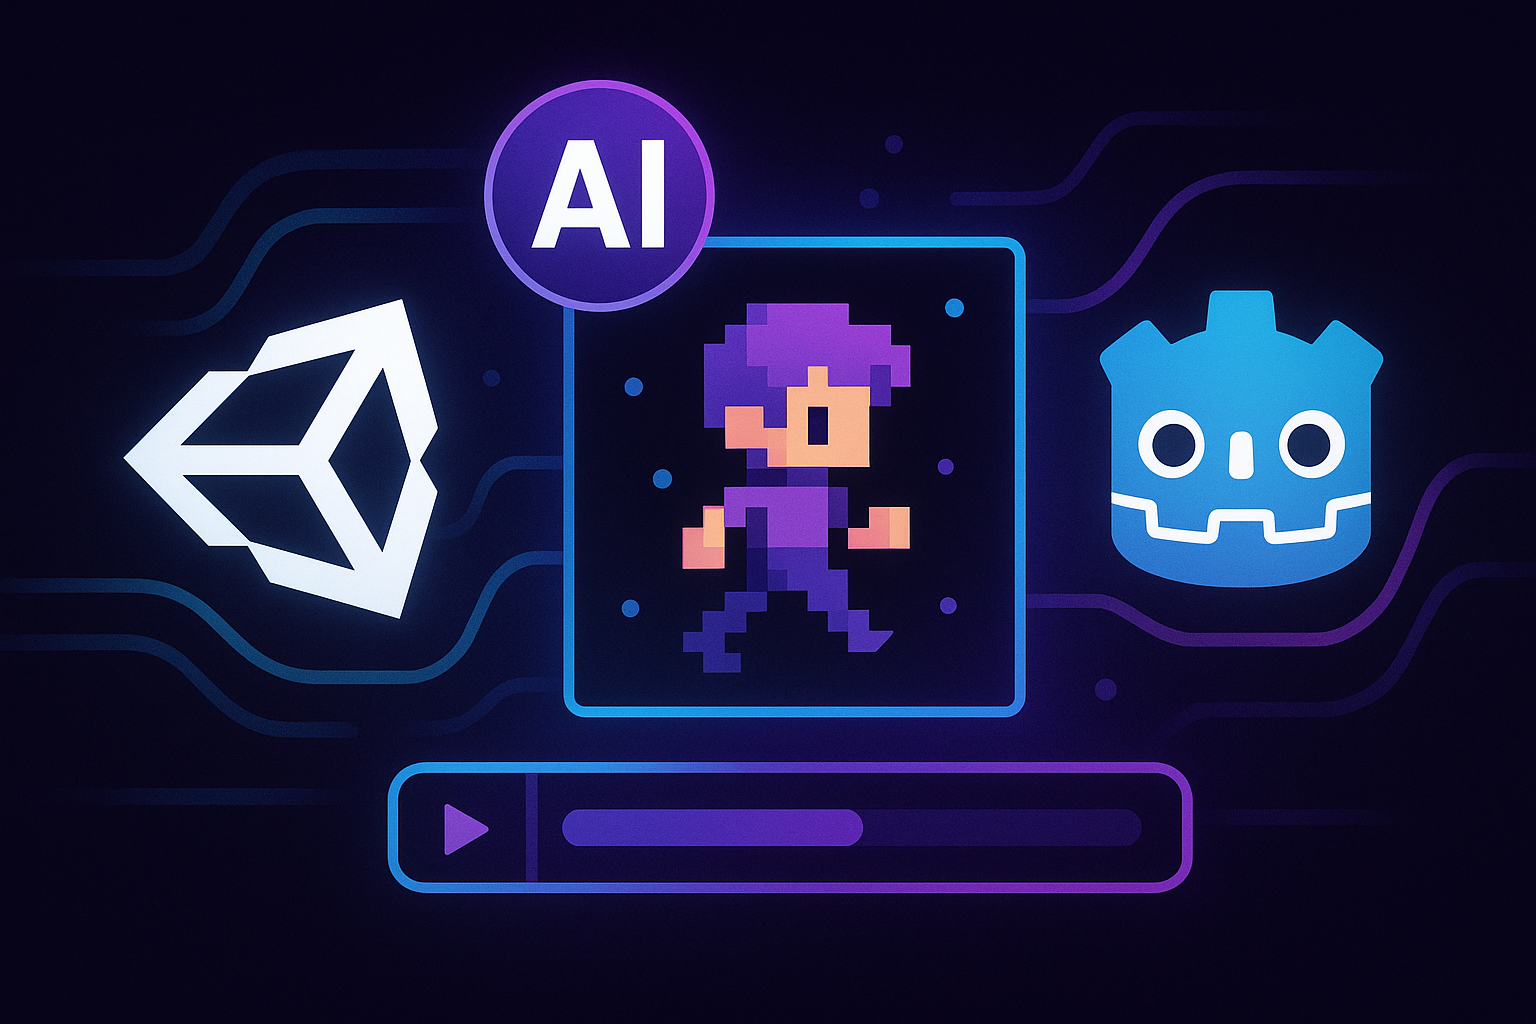
This is the bit where AutoSprites AI is worth flagging, from an outside view. The tool spits out clean frames, real transparent backgrounds, and a ZIP structured for direct engine use. That last part sounds trivial. It isn't. Anyone who's spent an hour renaming frame_001 through frame_032 because the export landed as a flat dump already gets it.
You pick a character, choose the animation set (idle, walk, attack, whatever), and download the ZIP. That's your starting line.
Unity, the actual workflow
First thing: unzip somewhere outside your project. Don't drop the ZIP straight into Assets. Unity occasionally chokes on nested folders, and you want eyes on the contents before the importer touches anything.
Then:
1. Drop frames into Assets/Sprites/[CharacterName]. One folder per character. Future you will be grateful.
2. Select all frames. Texture Type to Sprite (2D and UI). If you're working with a sheet, set Sprite Mode to Multiple. If each frame is its own PNG (which is usually what you'll get out of AutoSprites, and honestly the easier path), leave it Single.
3. Filter Mode: Point. No filter. Non-negotiable for pixel art. Bilinear will turn crisp edges into smeared mush. Set Compression to None during dev. Optimize later if you need to.
4. Pivot. Default is Center. For characters that need to plant their feet on the ground, switch to Bottom. Sounds minor. It isn't, once you start layering animations on top of each other.
To animate, select frames in order and drag them into the Scene view. Unity prompts you to create an Animation Clip. Name it something you'll recognize later, "Hero_Idle" or "Slime_Walk." It auto-generates an Animator Controller as a bonus. From there you build the state machine in the Animator window. Idle, walk, attack, transitions, parameters to fire those transitions.
Check the sample rate on the clip. For most retro-style stuff, 10-12 samples per second looks right. Bump to 24 for smoother modern animation. Test both, your eye knows.
Godot, different path, same place
Godot 4 makes parts of this easier and parts weirder. AnimatedSprite2D is the node you want.
Drop unzipped frames into res://sprites/. Godot picks them up on its own. Make a new scene with an AnimatedSprite2D as the root, or as a child of a CharacterBody2D if the thing is supposed to move.
In the Inspector, click Sprite Frames and create a new SpriteFrames resource. The editor that pops open is where the actual work happens. Multiple animations (idle, run, jump) inside one resource. Per-animation FPS. Looping toggle.
Drag your frames into the animation in order, and watch the order. Godot will sometimes sort alphabetically in a way that puts frame_10 ahead of frame_2. If your file names are zero-padded (frame_001, frame_002), you're fine. If not, you're reordering by hand.
For pixel art, open Project Settings, search "filter," set the default texture filter to Nearest. Otherwise you'll be staring at the same smearing you'd have gotten in Unity.
Then it's just play("walk") or play("idle") from your character script based on input or state. Godot's 2D animation handling is genuinely one of the more pleasant workflows out there right now.
About that transparent background
This trips up more people than it should. A PNG with a transparent background should just work. If you see a white or checkered halo around your sprite in-engine, it's almost always one of two things.
Either the source export wasn't actually transparent (it was a flat background that just looked transparent in some preview), or the engine's compression is wrecking the alpha channel. AutoSprites handles the first one at export. The transparency is real, not faked. For the second, set Compression to None or Lossless in Unity, and in Godot make sure the texture's import preserves alpha.
Where this actually buys you time
A few years back, getting a character with idle, walk, run, jump, and attack animations meant one of three things. Hire an artist. Learn Aseprite well enough to be dangerous. Or scavenge asset stores for something that almost fit your art direction but not quite.
Piskel and Lospec are great if you're drawing pixel art yourself. Aseprite is still the gold standard for hand-crafted work. Spine and Dragon Bones handle skeletal animation beautifully, assuming you have art to feed them. None of those tools replace the artist. They make the artist faster.
An AI sprite generator is a different animal. It replaces the part where you're staring at a blank canvas wondering how to draw a goblin. You describe the goblin. You get the goblin. You get the goblin walking, attacking, dying. Then you spend the rest of your time on the gameplay, which is presumably why you started building the thing.
For a solo dev shipping a prototype in a weekend, or an instructor who needs 30 students kitted out with working assets by Tuesday, that's a hard math to argue with.
Things to actually watch out for
AI sprites aren't magic. A few honest notes from doing this:
- Style consistency across characters takes a couple of generation passes. If your hero reads chibi and your enemies read semi-realistic, the game just feels off. Generate them in the same session with similar prompts.
- Frame counts shift by animation type. An idle might be 4 frames. A complex attack, 12. Build your state machine around what you actually get, not what you imagined you'd get.
- Hand-tweak when you need to. Even clean AI output sometimes benefits from a 30-second pass in a pixel editor to fix one weird frame. That's normal. Not a failure of the tool.
Wrapping it up
The whole point of a pipeline like this is to collapse the distance between idea and playable build. Generate in AutoSprites. Export the ZIP. Unpack into your project. Configure import settings once per asset type. Build the clips or SpriteFrames resource. Wire it to your character controller. From "I had an idea" to a thing moving on screen, an afternoon is realistic for a small project.
That used to be a week, minimum. Now it fits before lunch, and that's the part that actually matters. CreatorFetch and a few similar trackers have started lumping these AI sprite tools into their game-dev tooling roundups, which suggests the workflow isn't a niche curiosity anymore.
Written by the CreatorFetch.com editorial team.